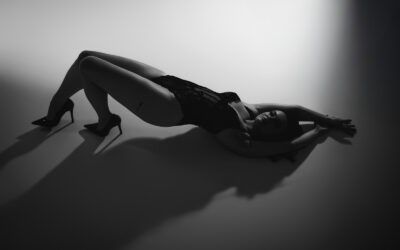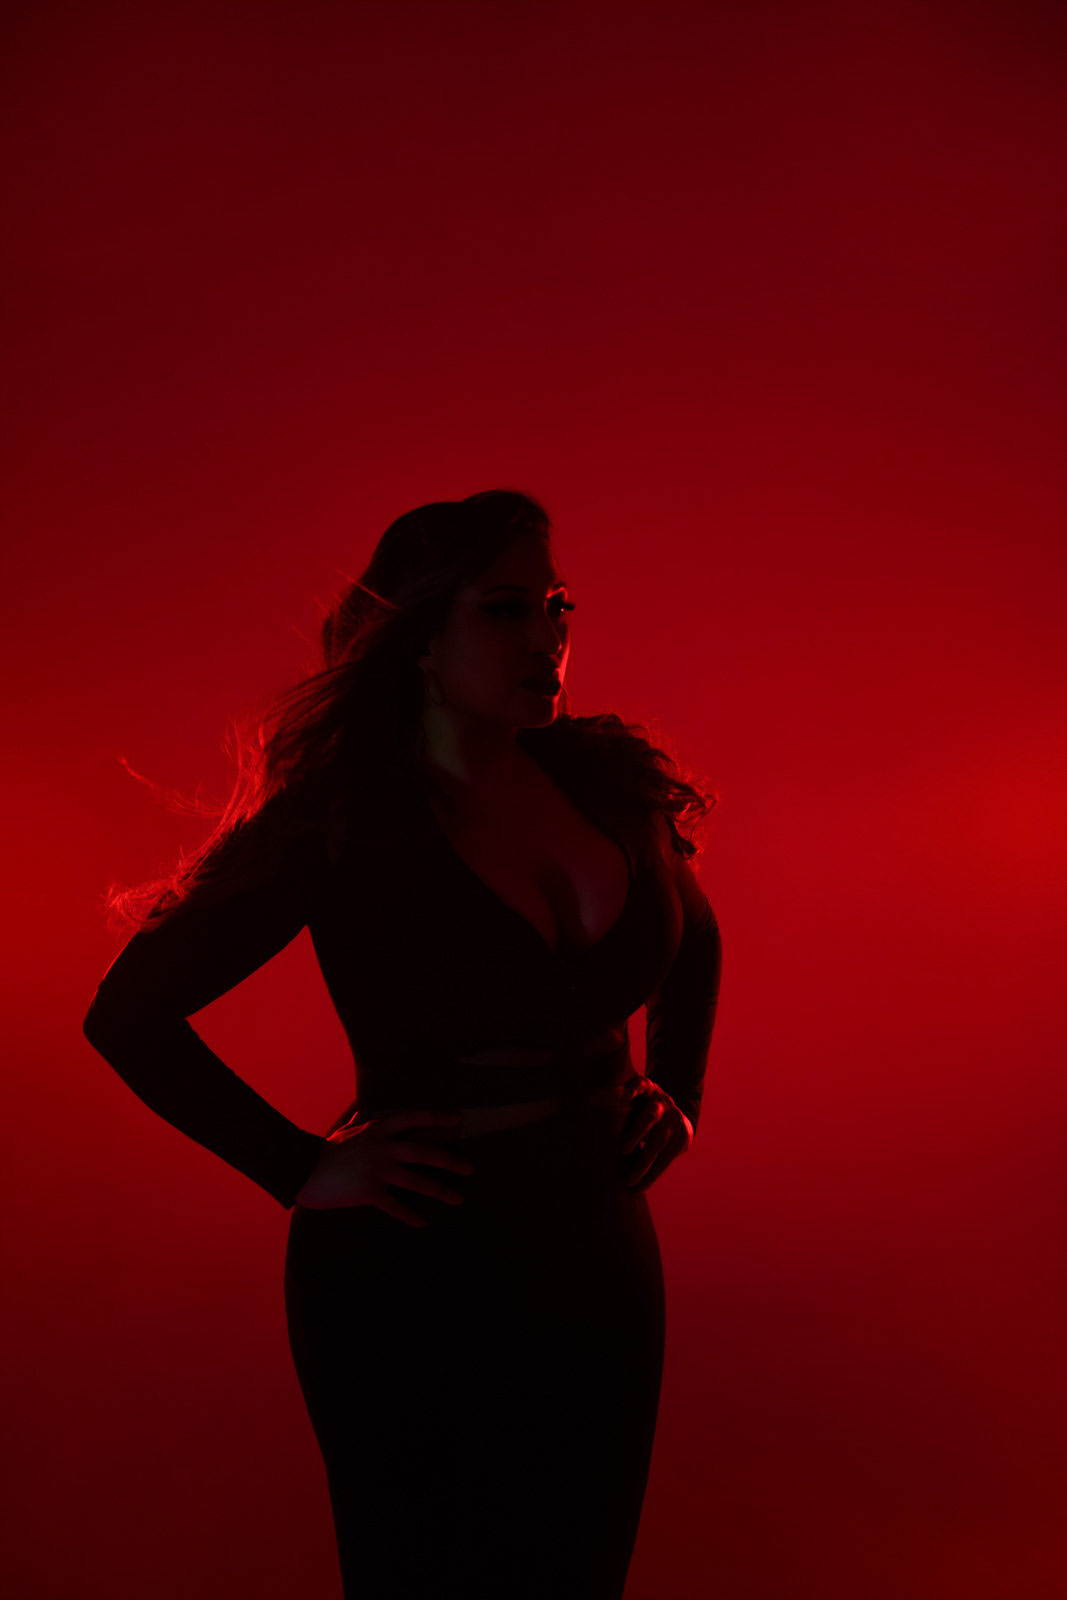
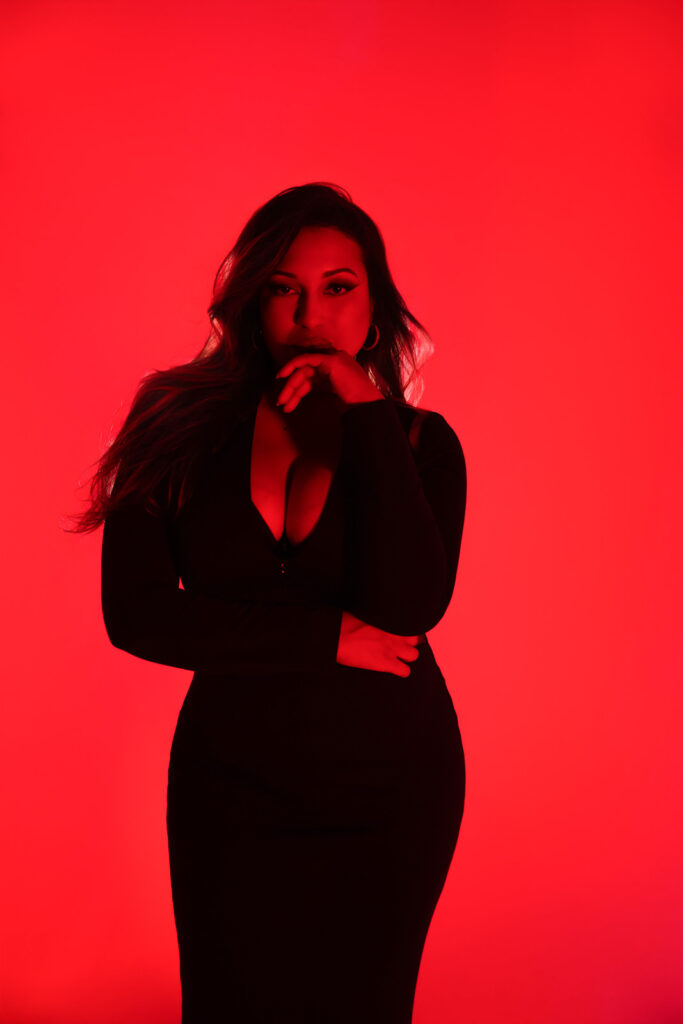
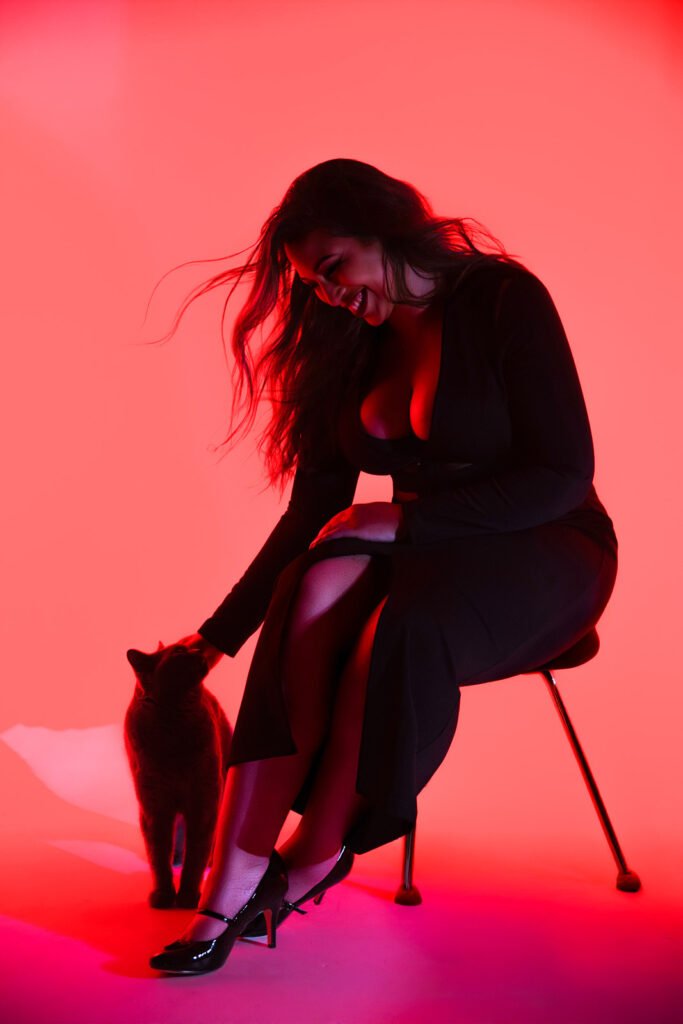
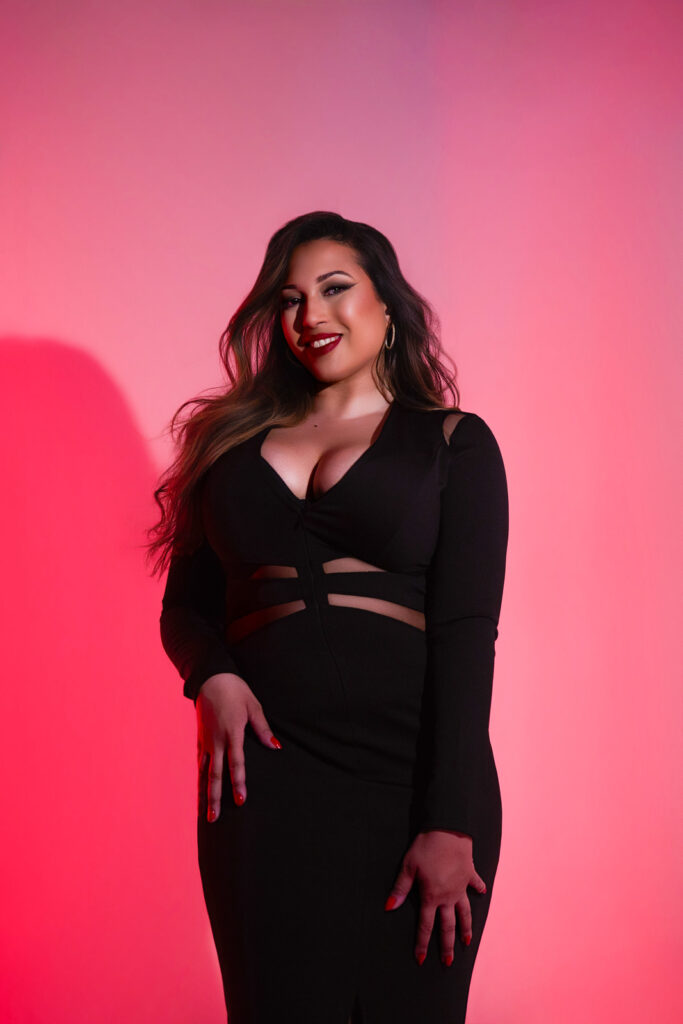
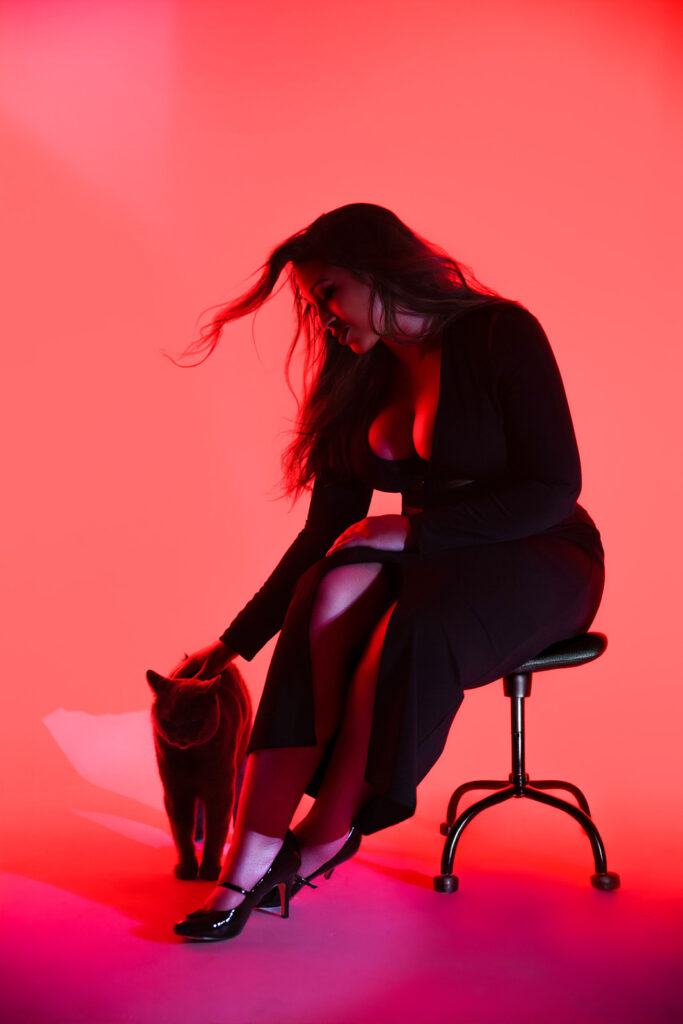
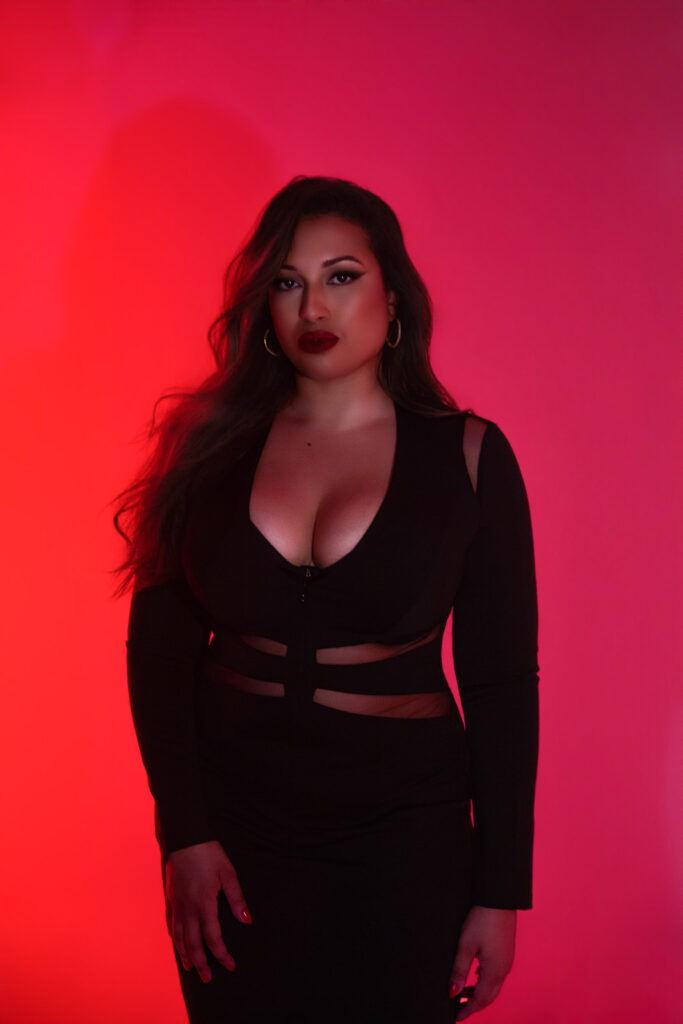
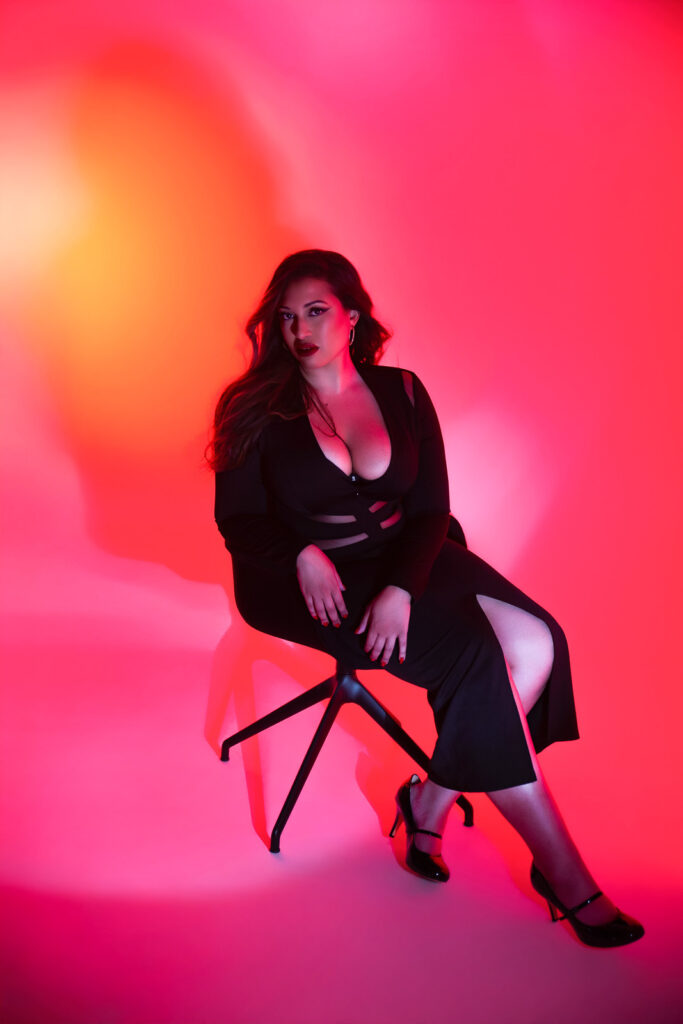
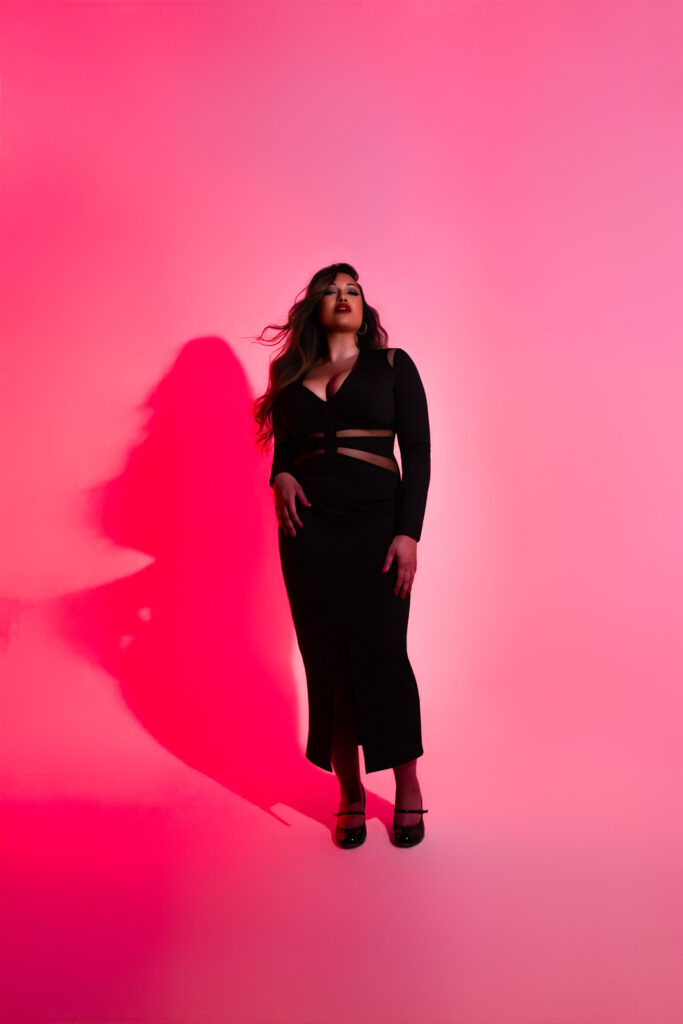
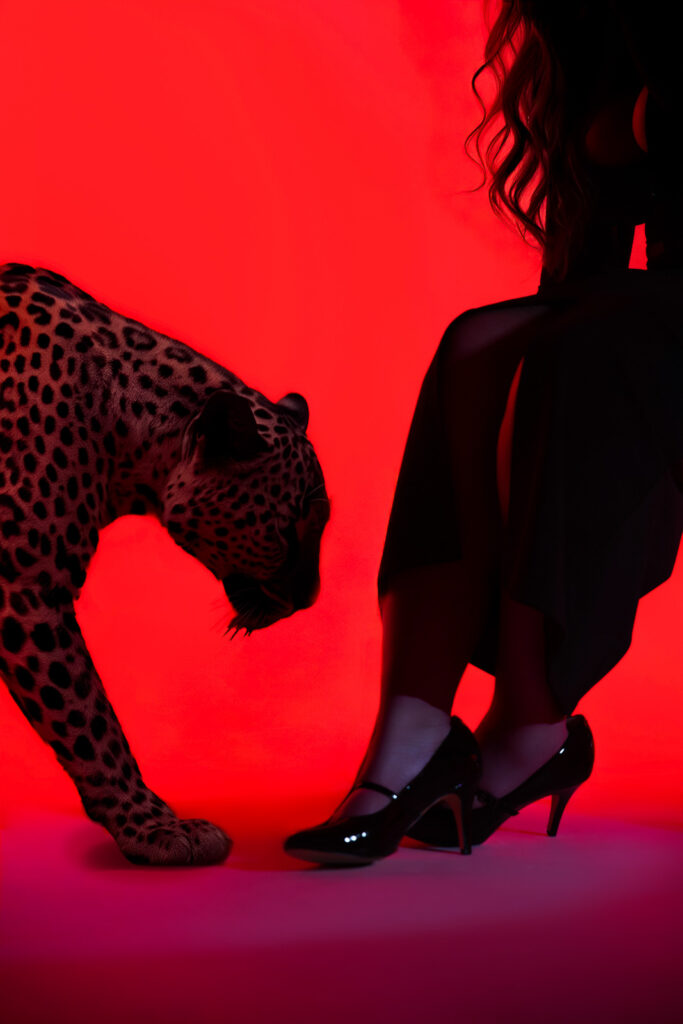
I’m excited to share this dramatic, experimental curvy boudoir photoshoot with you today. It has a very strong viewpoint; you’re either going to love it or hate it.
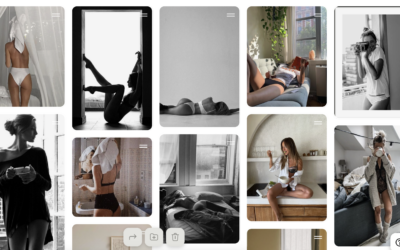
I randomly saw an image on Pinterest sometime last year, and I just could not get it out of my head. I proceeded to collect every similar image I could find onto a mood board at 1AM one night. Then, in a very Richard Branson “say yes and then figure out how to do it” moment, I put the idea out there to you all, well before I had any proof I could pull it off.
Spoiler alert: it worked!
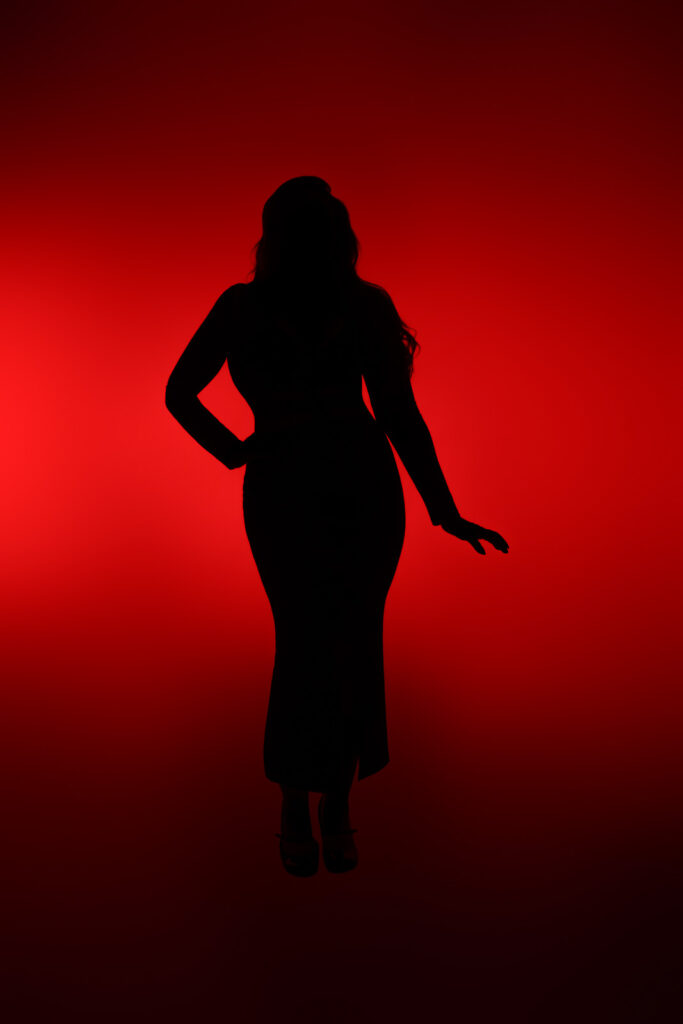
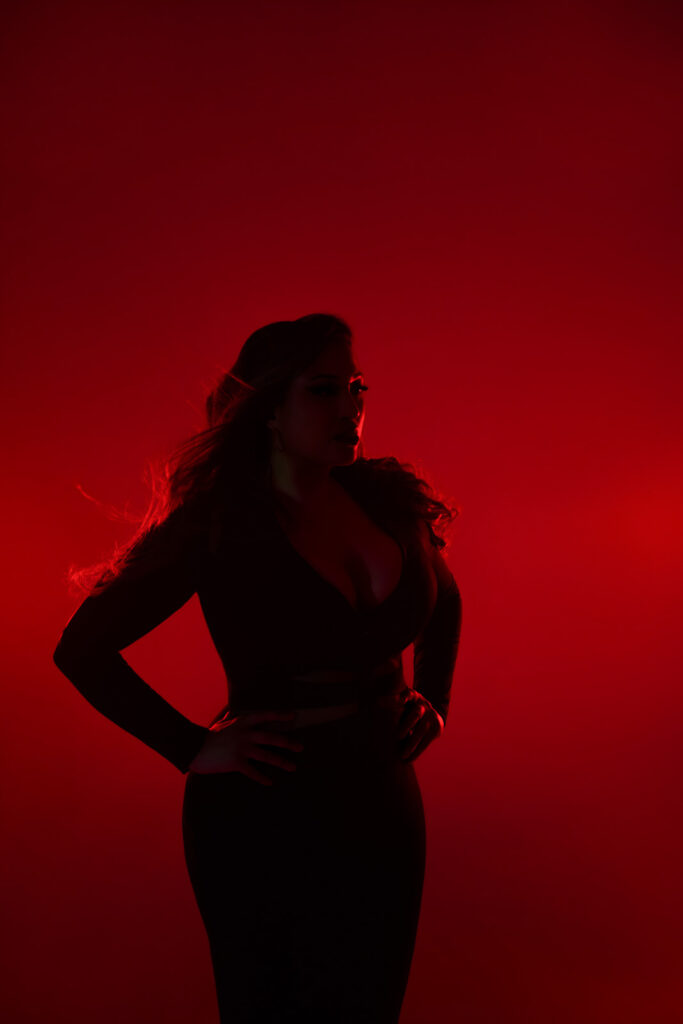
CREATING THE RED ROOM FOR A CURVY BOUDOIR PHOTOSHOOT
There are basically two ways to create lighting like this: traditional studio lights with gels, or RGB lights. The studio room I wanted wasn’t available on our shoot date, so due to space and blackout constraints I planned to use gelled studio lights. These are your normal run of the mill flashes, except with a fancy piece of coloured plastic clamped on the front. You have a lot more control over the light this way. It’s hard to see what you’re doing though, and it can be difficult to get a lot of strong colour. I felt pretty good about this plan. I had a couple of lighting setups in my head and figured the rest would come with trial and error.
Then, I arrived at the studio and the people who’d booked the room I wanted never showed up! So I took their spot in a much bigger, darker room for our curvy boudoir photoshoot. Now that we could kill the daylight, I switched course and went with RGB lights instead.
THE WAY OUT IS THROUGH
Friends, it worked, but lemme tell you, RGB lights are so weird. They seem simple. Just turn on the light and you see exactly what you get, right? No sync speed, no triggers, should be dead easy. I don’t know if I can explain it properly; they behave like little aliens who don’t breathe air or drink water. I must have moved those suckers around 350 times trying to find the best placement and combinations. My inner monologue was just a stream of constant questions: I’ll use this constant light to add some brightness, wait where did the colour go? I only changed one little knob, why is the skin GREEN now? Is the face blown out or just really saturated red? And is that going to look great or terrible later? How much of this is alterable in post production?
Anyway, I learned a lot obviously. I’m so pleased with how everything turned out. Experimental work is really important, and I know so many working creatives never have time to do it and end up dreading their craft. If that sounds like you and you’re contemplating quitting, may I kindly make a suggestion? You might not need to retrain and get a 9-5. You might just need three whole test shoots in a row where you make whatever you want and answer to no one:)
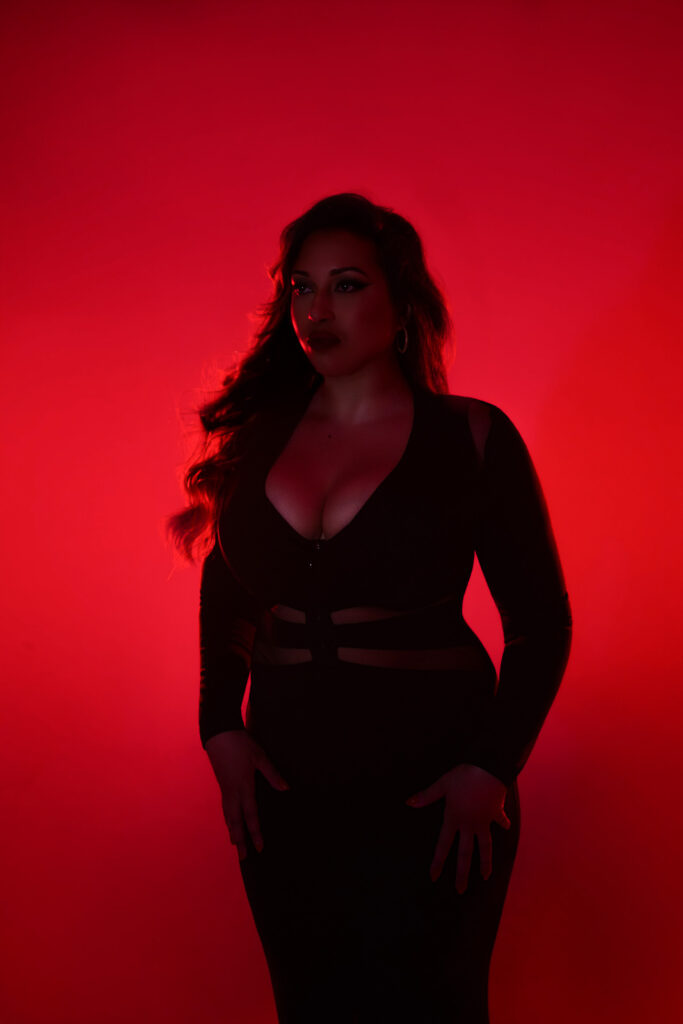
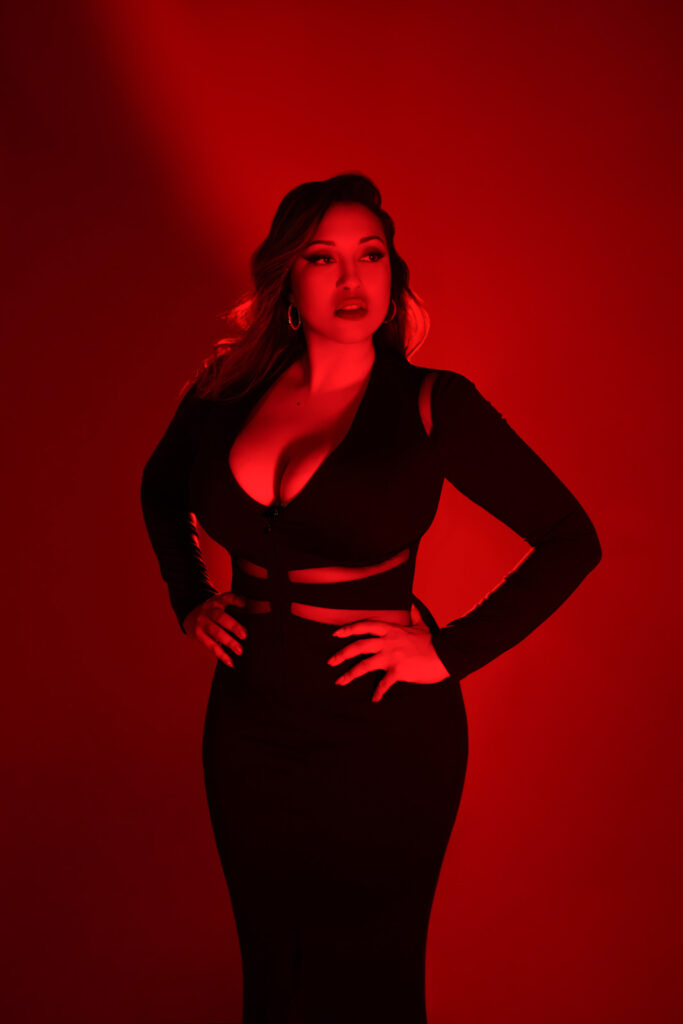
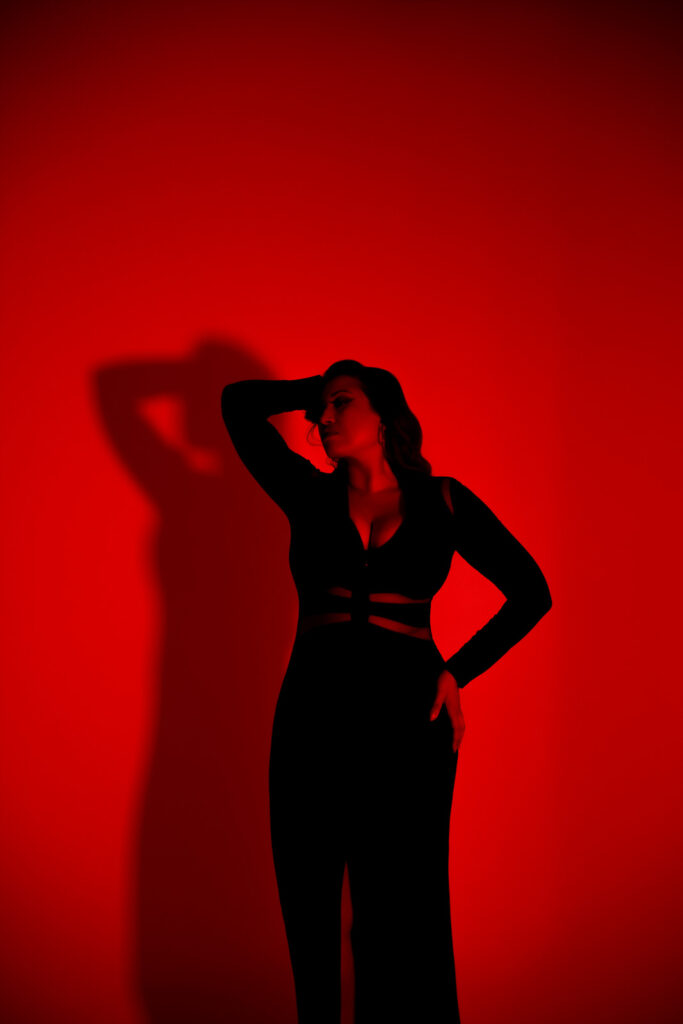
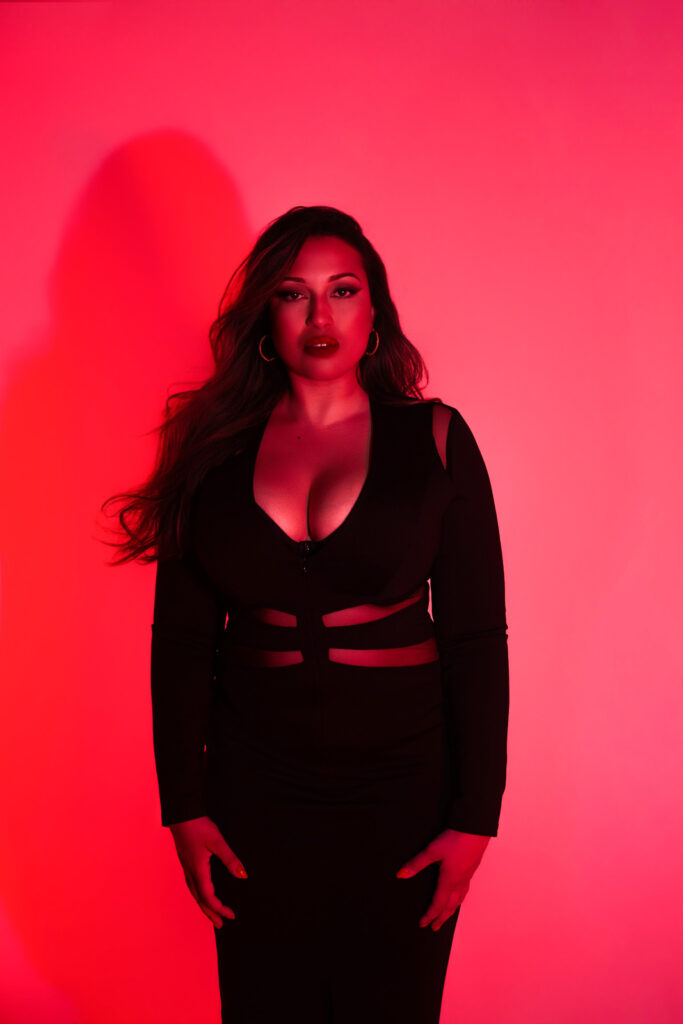
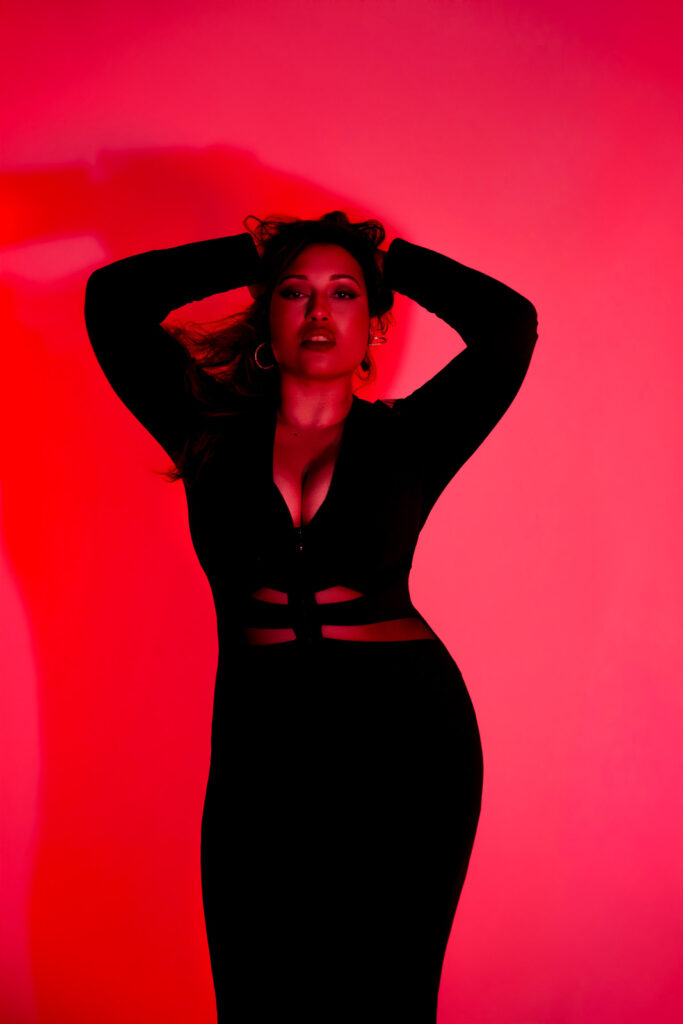
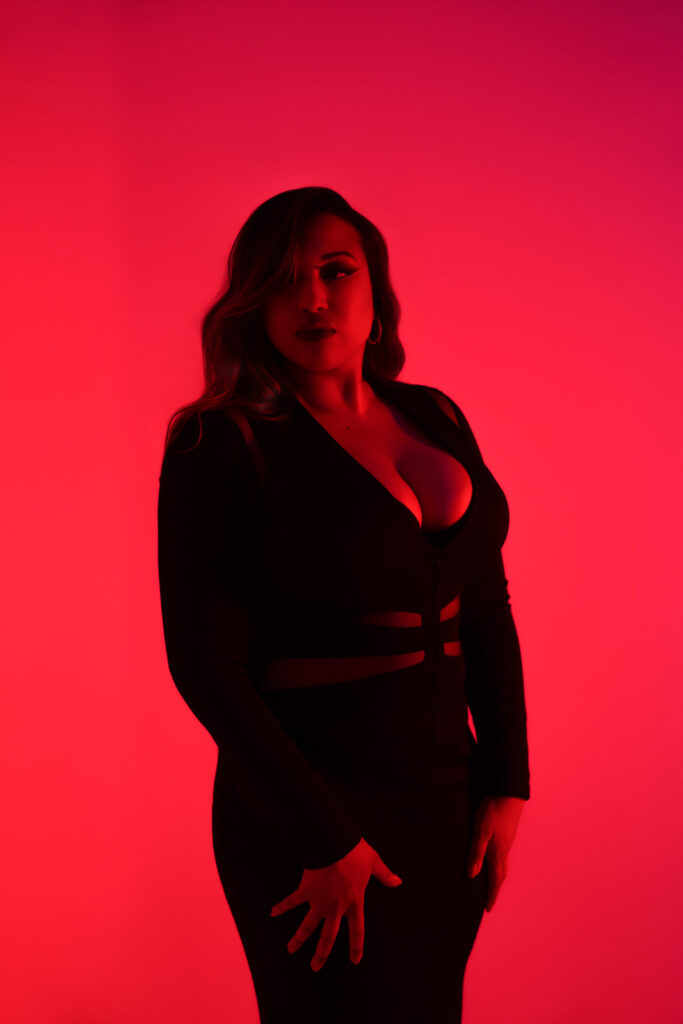
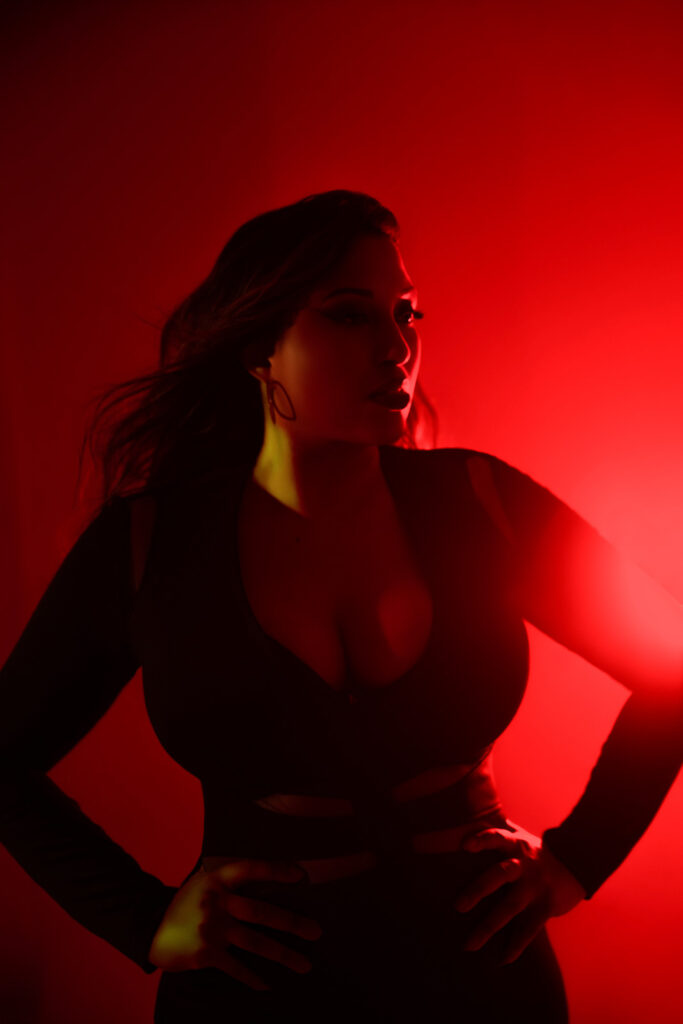
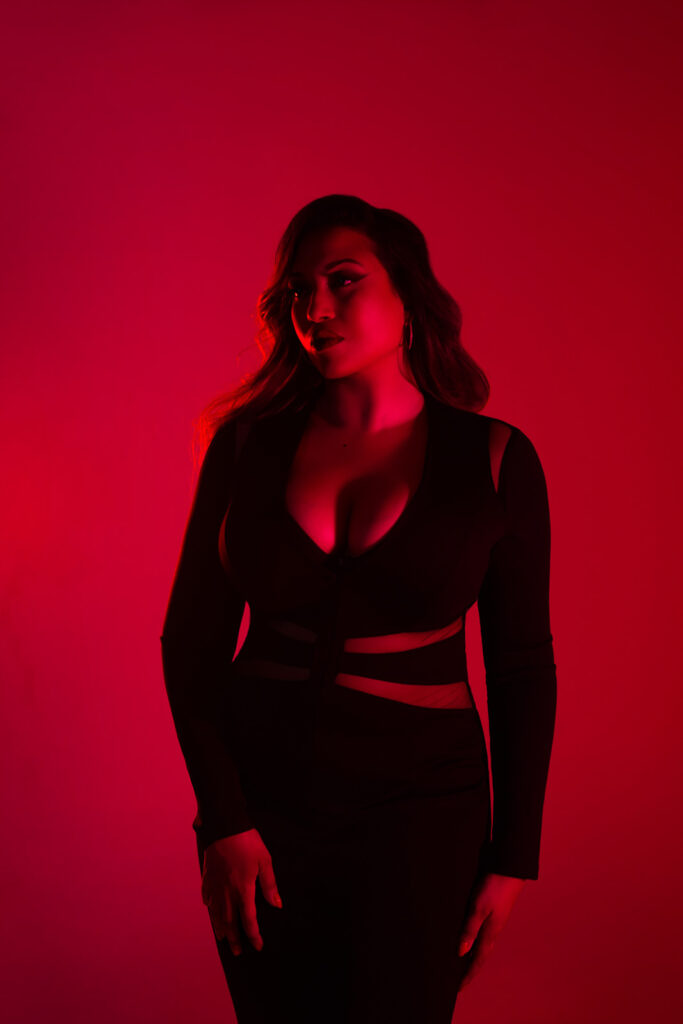
I have to hand it to my client Natasha, because she was an absolute superstar and none of this would have been possible without her. There was a bunch of difficult drama that happened right before we created these images, and I was so impressed with her professionalism and ability to focus and make the best of things despite that. I could not have asked for a better subject.
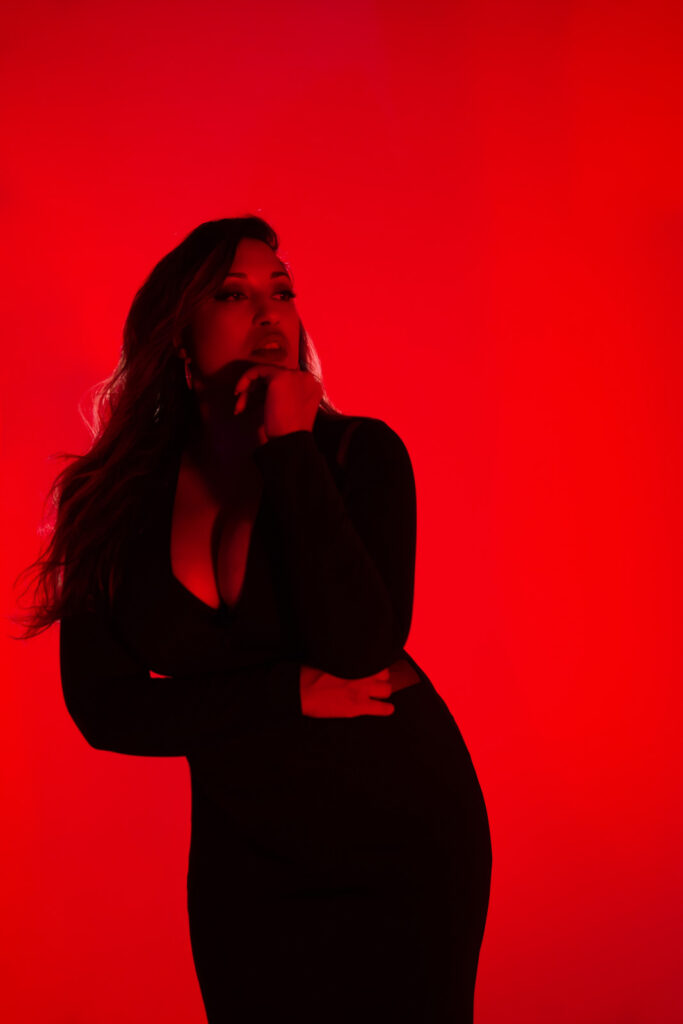
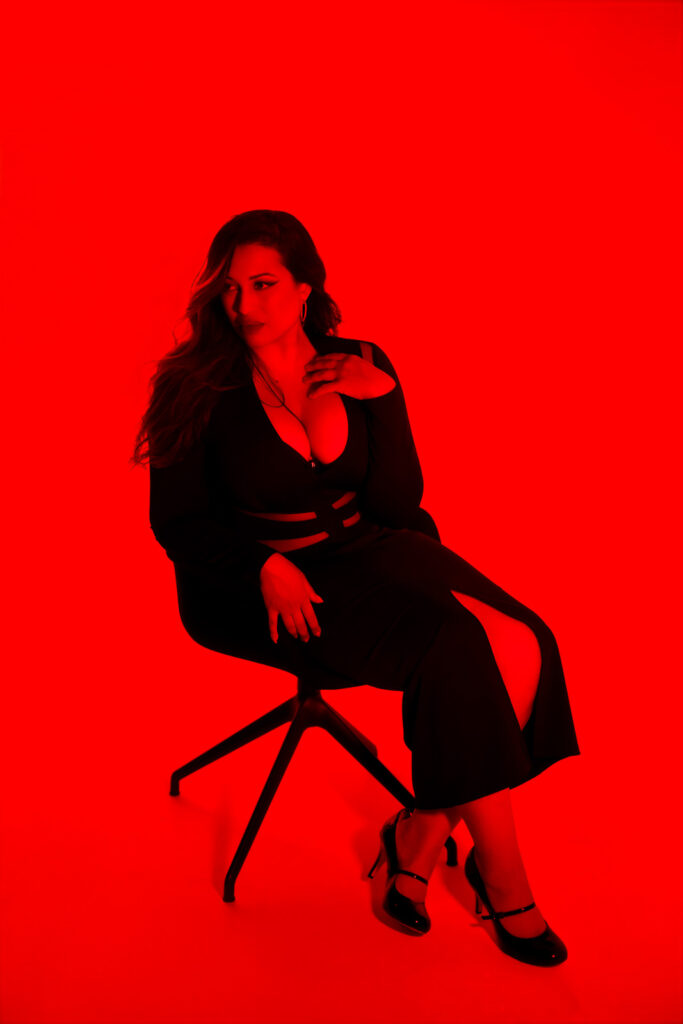
THE ANIMALS AREN’T REAL
Some of you know I’ve been doing a dance with AI for a while, trying to work out where I stand on it. I’d like to use it in my work, but ethically and obviously. If that’s possible?
Some of our reference images had wild cats. Now, I have a lot of weird contacts, but I don’t know anyone who can get a leopard through Central London for a photo shoot. I figured this was a pretty safe place for AI to step in. I’m almost certain the original reference images were AI anyway. I did a bird, and a snake too. The prompting took ages, and the compositing took a really long time too. In fact, while I was doing it I was thinking, “I should have just called the snake guy.” It would have saved so much time, even if they don’t listen or take direction and scare people half to death lol. There’s a fun shoot with a python called Sunny in my featured galleries.
I’m including before and afters, because I think it’s fun to see the difference.
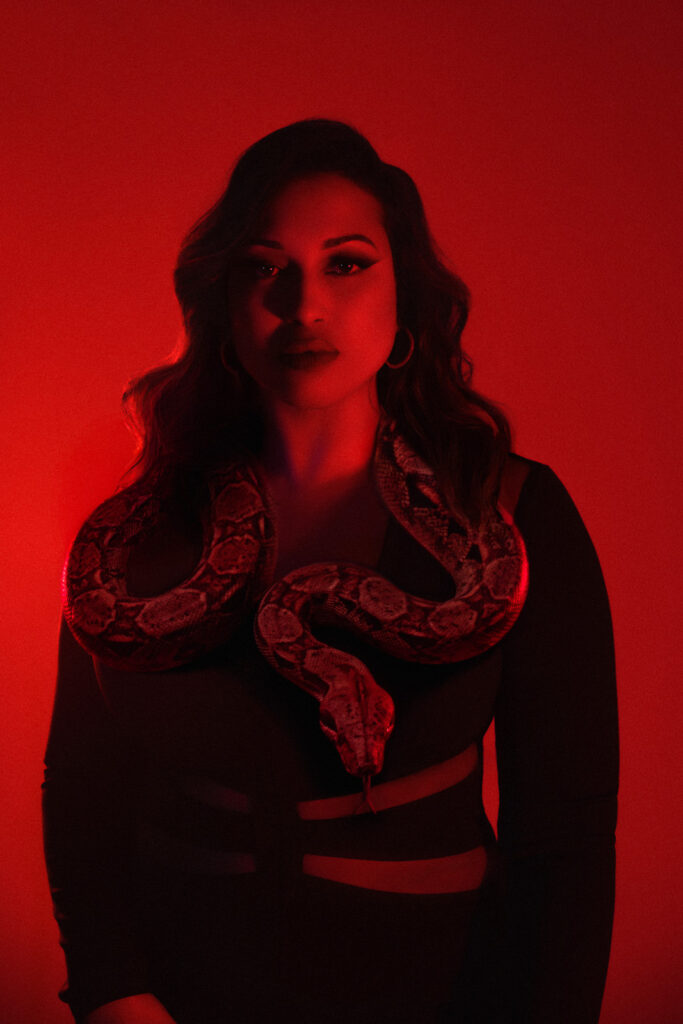
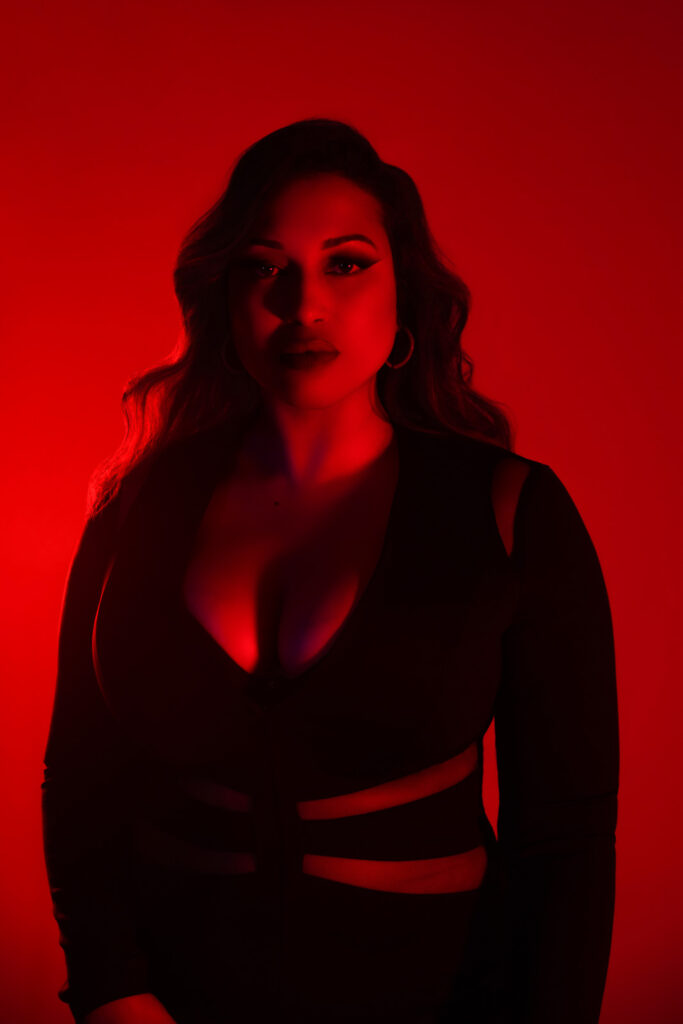
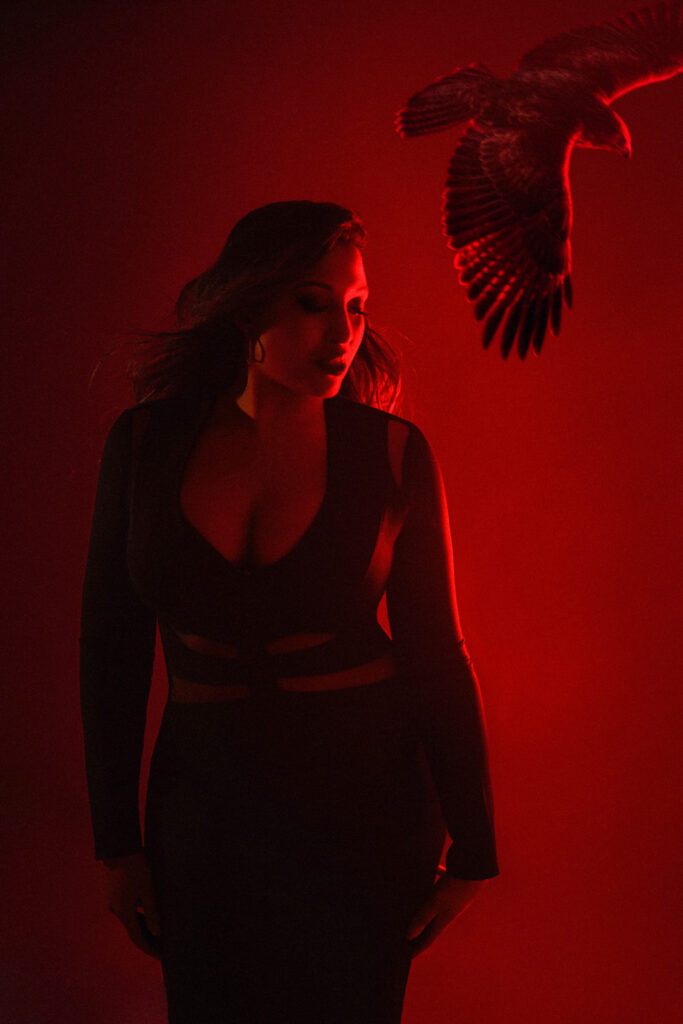
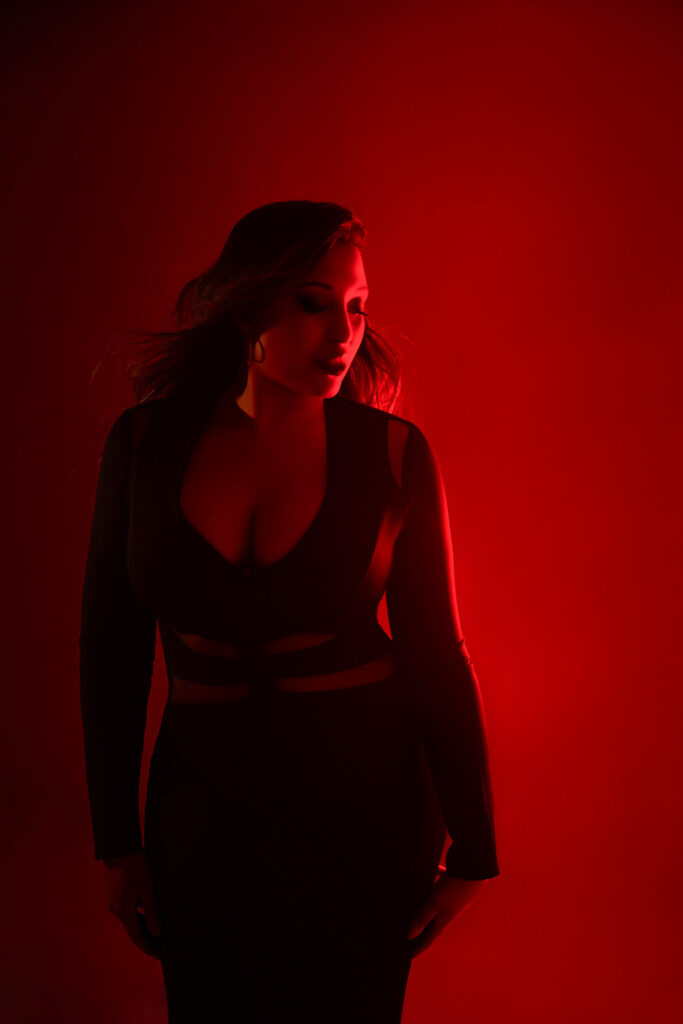
Natasha wore a simple black bodycon dress with sheer mesh panels and black heels for this curvy boudoir photoshoot. We were focused on the red room idea, but we spent a little time on more traditional images too. I’ll save those for another post.
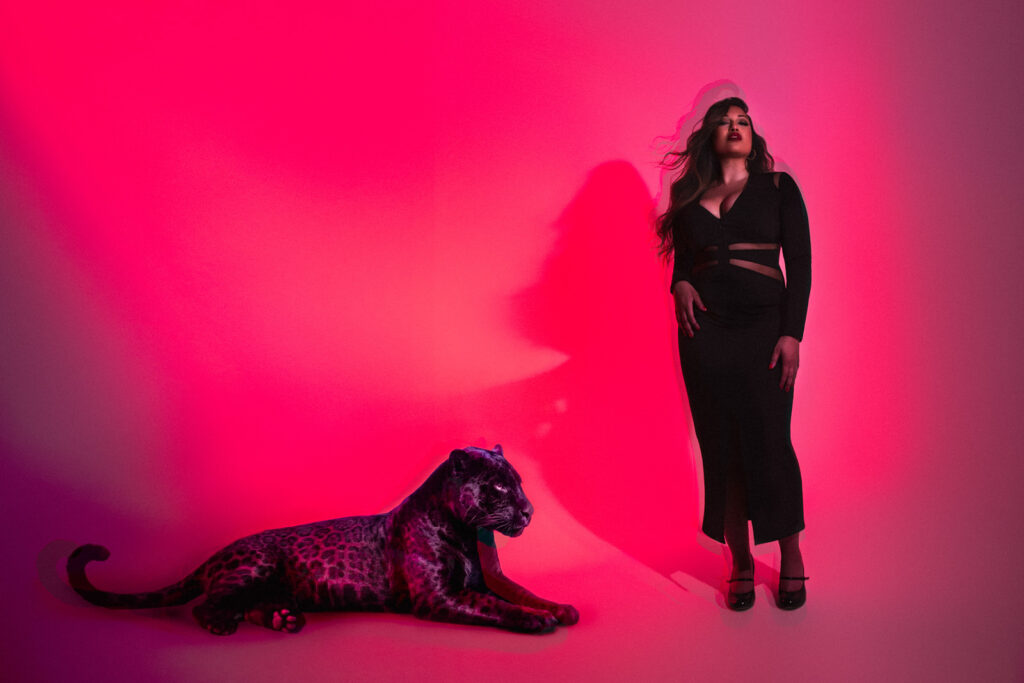
I’m not sure about this one to be honest. I didn’t plan for this composite like I should have. Is it cool, or does it look dumb? I guess time will tell!
If you love this shoot and would like to create something like it for yourself, I’d be really keen for a round two. Get in touch and let’s talk about how we could interpret this idea for you (real or fake snakes both welcome!).
I’m thinking about a fog machine next time.
xx
Stormy